Why Orange Pi Zero 3
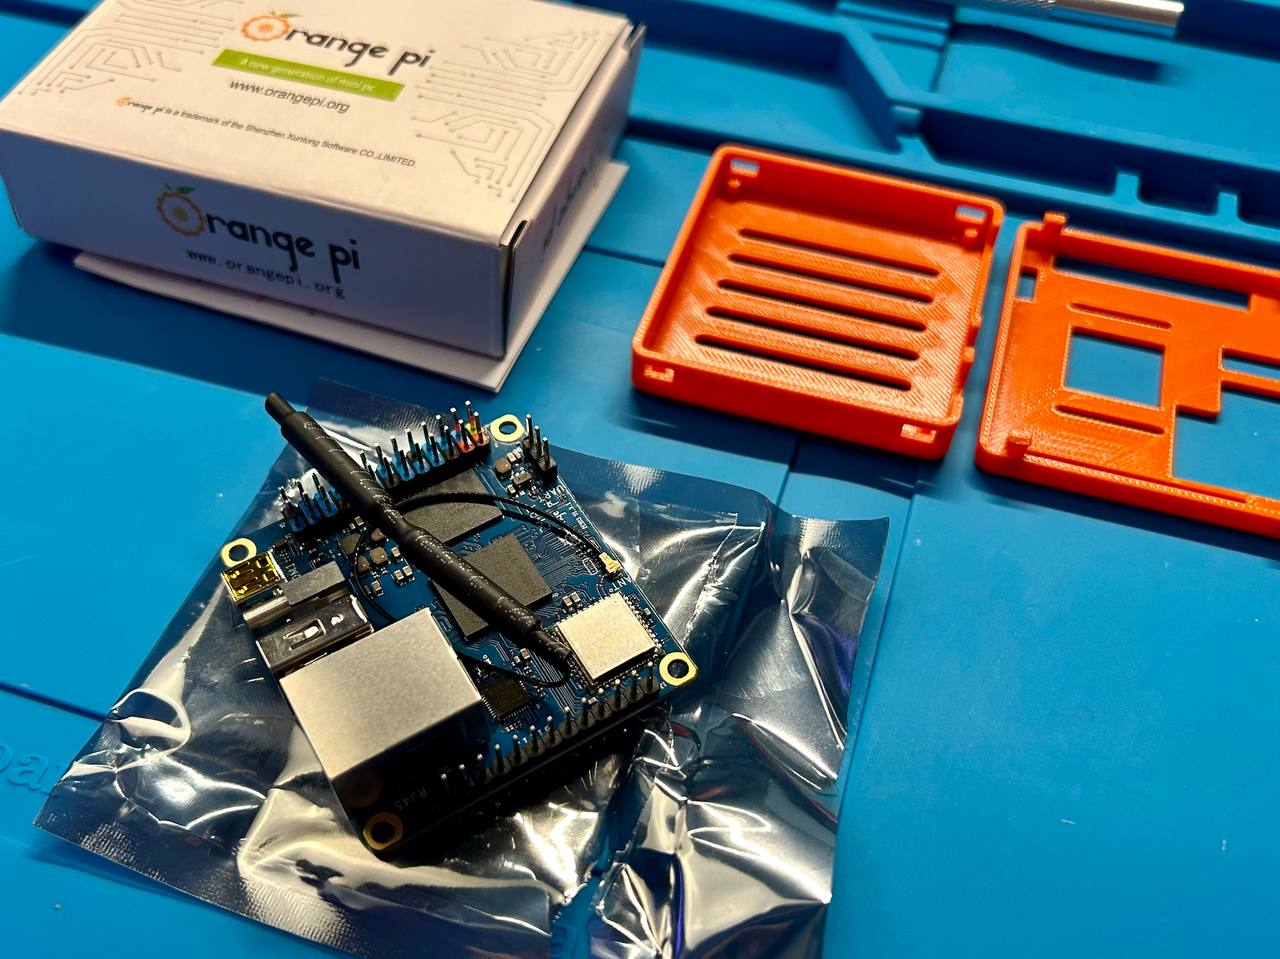
As for today, Pi-hole hardware requirements are 4GB of disk space and 512MB RAM which makes a 1GB version of the OPi Zero 3 a perfect candidate.
Things didn't go well
All my disappointment may be described by one single picture. Orange Pi Zero 3 uses a Micro-HDMI port that is soldered too close to the Type-C Power supply port. It means you can't use Micro-HDMI to HDMI adapters you probably have at home - they won't fit together. The easiest solution to this problem could be buying a recommended cable.

But have a USD TTL converter laying in my storage box for quite a long time and waiting to be used. It's based on the CH340G chip which should be supported my Mac OS since a few years, but unfortunately didn't in my case on an M1 Pro series MacBook.
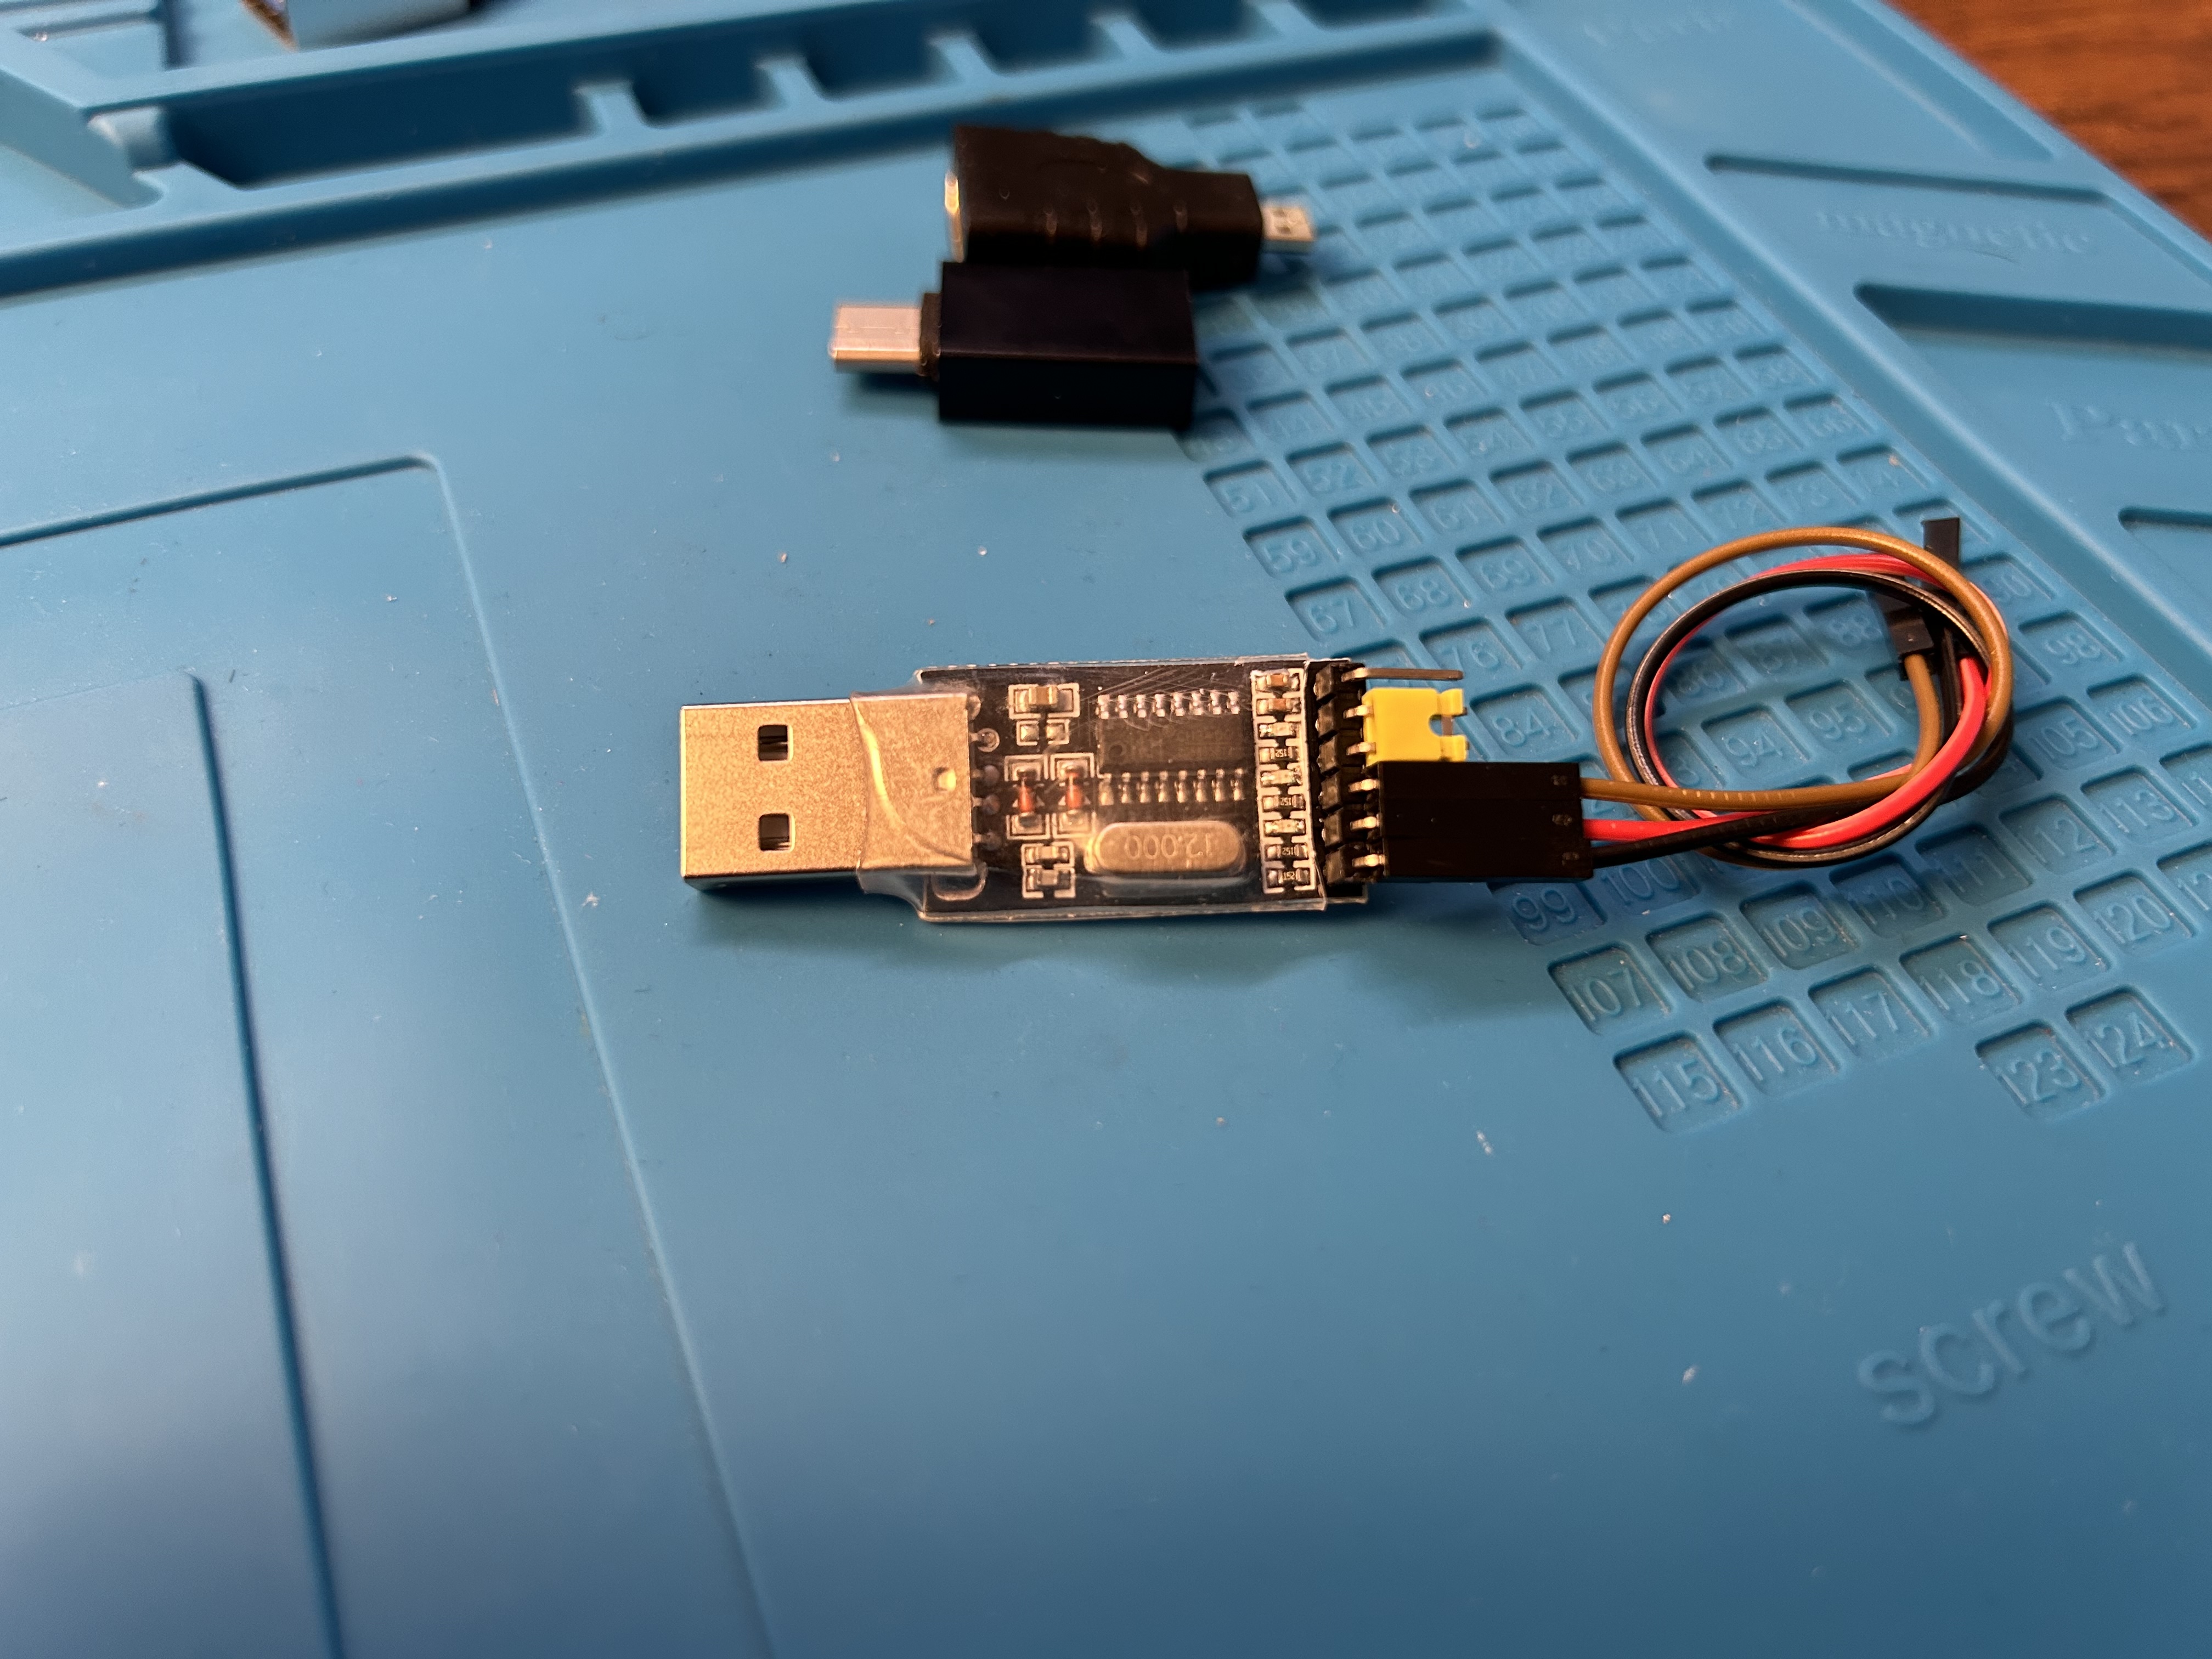
If you would be buying one, I would probably stick with a Type-C version or even different chip.
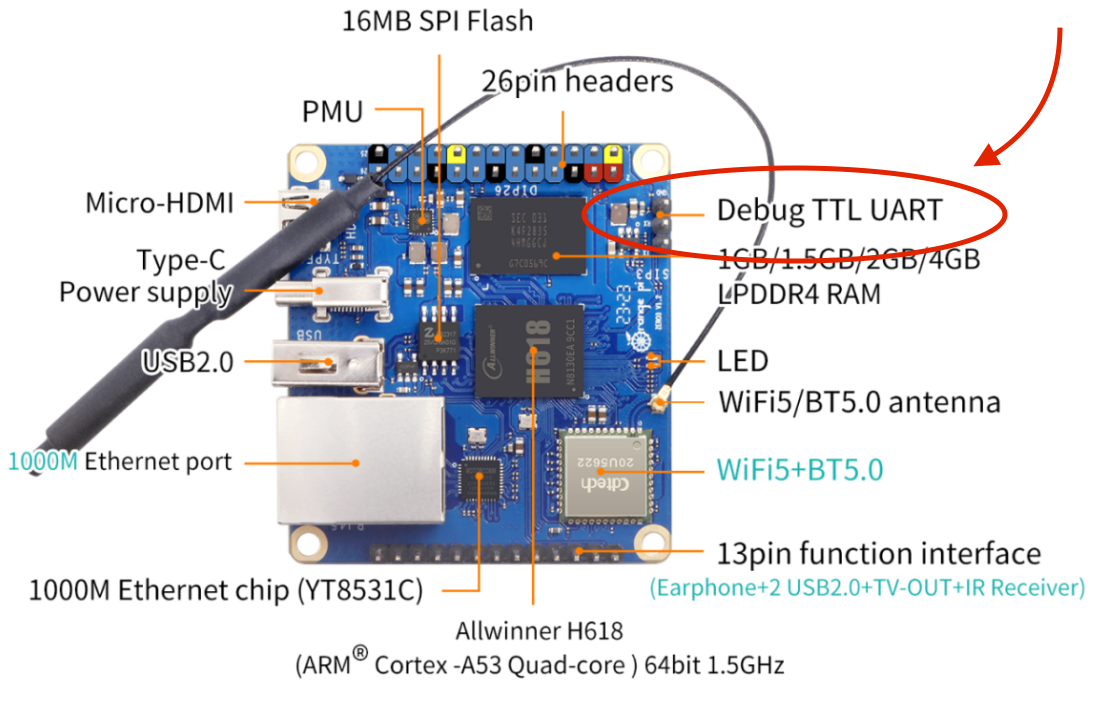
OPi Zero 3 has a Debug TTL UART pins so it should be super easy to access a serial console though any terminal program.
Installing CH340 driver
CH340 is one the 2 most popular USB drivers used for various Arduino and ESP devices. Mac os drivers are not that obvious to find. One could be downloaded from the repo https://github.com/adrianmihalko/ch340g-ch34g-ch34x-mac-os-x-driver, but it turns out that someone has already created a cask for Brew.
$ brew search ch34x
==> Casks
wch-ch34x-usb-serial-driver

$ brew install wch-ch34x-usb-serial-driver
$ ls /dev/tty.wch*
/dev/tty.wchusbserial110First login
Connect to the OPi using a Baud Rate 115200:
screen /dev/tty.wchusbserial110 115200As stated in the armbian docs, default user and password are root:1234.
On the initial logic it's required to setup the system creating a root password and a second user that will be added to the sudo group automatically.
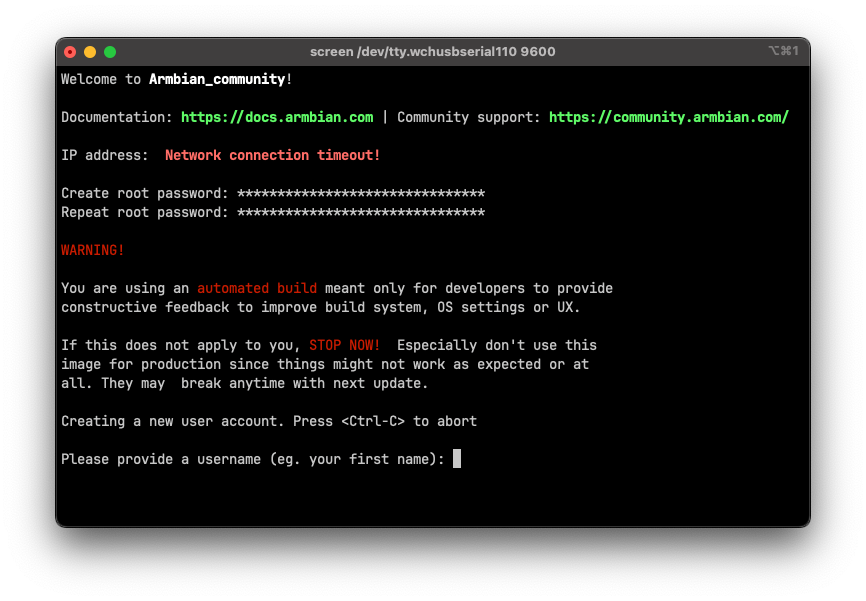
Once the setup process will be done, a welcome screen will be shown.
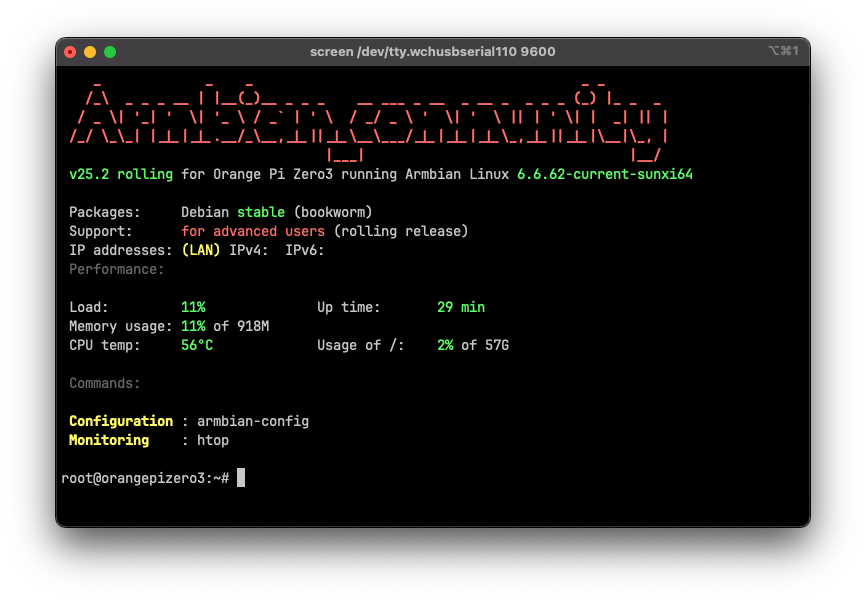
WLAN connection and static IP address
I plan to connect my OPi using a patch cord, but in order to install Pi-hole and restore a backup from RPi it's more convenient to setup a WIFI connection. You may use a LAN cable and skip this step.
root@orangepizero3:~# iw dev
 phy#0
        Interface wlan0
        ...
Create a netplan configuration file. A separate config is recommended for WIFI:
sudo nano /etc/netplan/30-wifis-dhcp.yamlEdit SSID and password:
network:
  version: 2
  renderer: networkd
  wifis:
    wlan0:
      dhcp4: true
      dhcp6: true
      access-points:
        'Your-SSID':
          password: 'your-password'
Update config permissions, test and start the network:
sudo chmod 600 /etc/netplan/*.yaml
sudo netplan try
sudo netplan apply
If everything is setup correctly, no syntax errors in the yaml network should be reachable.
I hand to reboot the OPi first because of a strange behavior with being unable to apply configuration:
Cannot call openvswitch: ovsdb-server.service is not running.
If you face same issue, try to reboot the device with sudo shutdown -r now.
As soon as connection is up, I prefer to switch from tty to ssh, since it's a pain to work with interactive console and files. Add ssh key and connect to the OPi using SSH:
echo "<ssh_public_key>" > ~/.ssh/authorized_keysSetting a static IP is a Pi-hole requirement, since it warks a DNS server. Although it's possible to set IP address using netplan configuration, I prefer to control them directly from the router.

From now on I'll assume that 192.168.0.2 is the address assigned to our Orange Pi.
Install Pi-hole
Armbian OS is an officially supported operating system and installation is quite straightforward with the official Pi-hole docs.
First, update the system you know it's outdated. Mine was:
apt update
apt upgrade
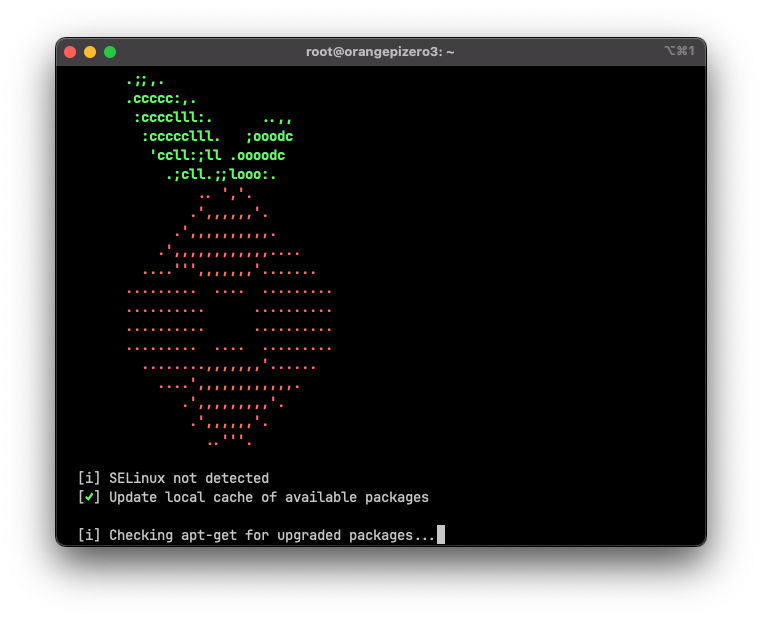
apt install vimStart the Pi-hole installation:
$ curl -sSL https://install.pi-hole.net | bash
Once everything is done, run pihole -a -p to set the admin web interface password.
Restoring backup
- Backup lists and configuration with
pihole -a -t. This creates a *.tar.gz archive. - Download it and restore though the web admin interface Settings -> Teleporter -> Restore.
$ scp admin@192.168.0.3:/home/admin/pi-hole-pihole-teleporter_2024-12-30_11-52-51.tar.gz .
pi-hole-pihole-teleporter_2024-12-30_11-52-51.tar.gz                                              100% 2589   412.8KB/s   00:00
You may also want to migrate queries log to preserve historical Pi-hole query log data.
- Install sqlite3:
apt install sqlite3 - Stop FTL service:
sudo service pihole-FTL stop - Create a backup:
sqlite3 /etc/pihole/pihole-FTL.db ".backup /home/<user_name>/pihole-FTL.db.backup" - Move backup file to another host
- Stop FTL service on that host
- Replace the existing
/etc/pihol/pihole-FTL.dbwith the backup - Start FTL service again
UPD 24.02.2025
It's almost 2 months since the migration is completed, and it works like a charm with no issues or downtime.
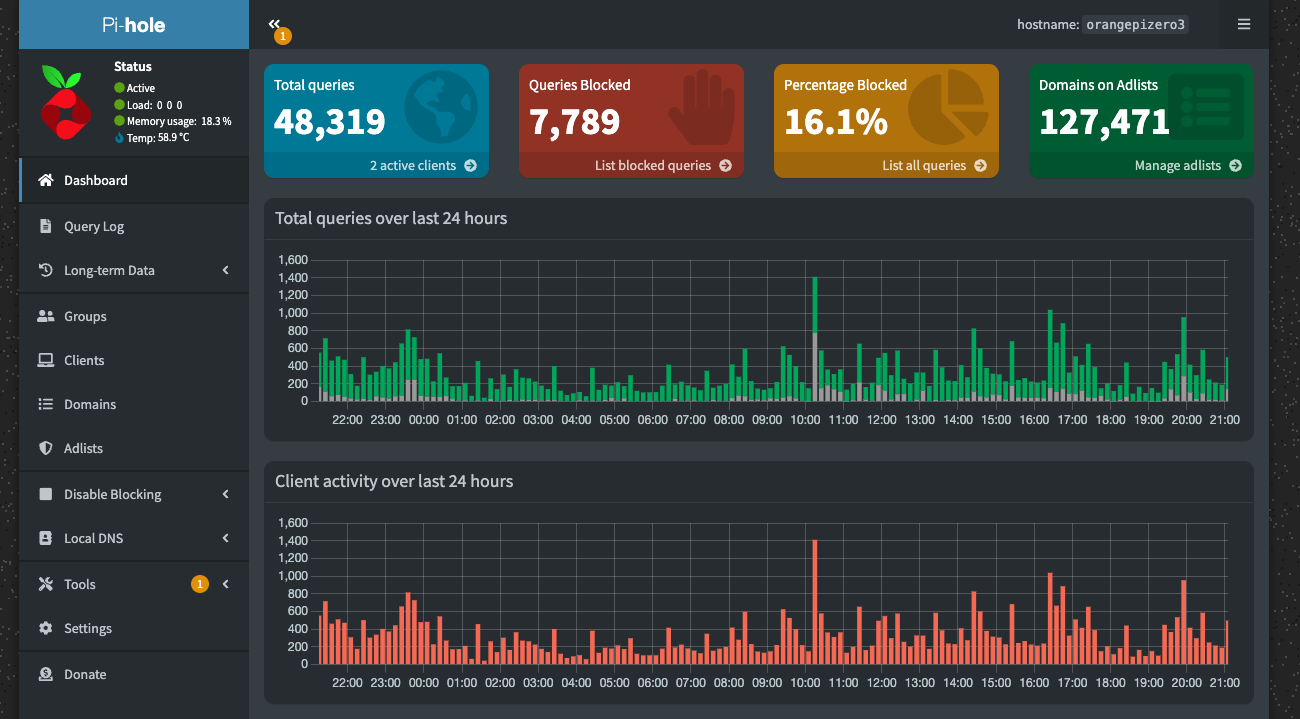
UPD 29.10.2025
After almost a year of usage, Orange Pi Zero 3 is still running Pi-hole without any issues and survived a big system upgrade, although I had to manually backup and restore databases.
Uptime: 4 months (running since Tuesday, June 24th 2025, 23:20:19)Local DNS Records is an infinitely handy feature.